DIY Pergola Plans for Beginners: How to Build Your Own
Why a Pergola is the Ultimate Weekend Project
A pergola is more than just a cluster of 4x4 posts; it is an architectural statement that defines your outdoor living space. Whether you want to provide shade for a dining area, support climbing vines, or create a cozy reading nook, building a pergola is one of the highest-value DIY projects you can tackle. While it looks complex, the structural principles are straightforward. In this guide, we will walk you through the critical steps of professional pergola construction based on our Precision Woodworking Plans.
Step 1: Planning for Stability and Code
Before buying a single board, check your local building codes. Some areas require permits for structures of a certain height or footprint. For the best look and maximum durability, we recommend using 6x6 posts rather than 4x4s. The beefier lumber prevents warping and gives the pergola a custom, high-end appearance. Ensure your post bases are anchored into concrete footings that reach below your local frost line to prevent shifting over time.
Step 2: Choosing Your Lumber
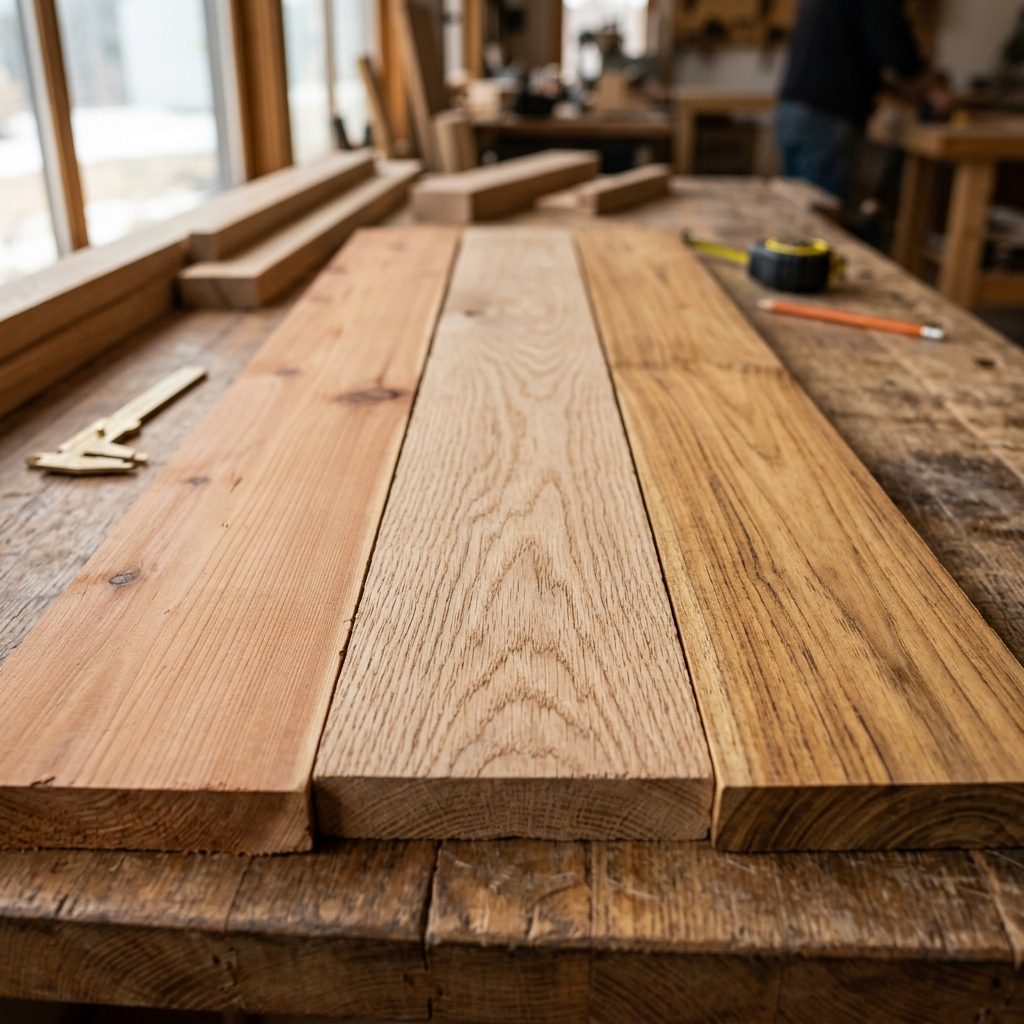
As discussed in our previous guide, wood choice is vital. Western Red Cedar is the premier choice for its beauty and rot resistance. If you use Pressure-Treated lumber to save money, consider staining it darkened to match a cedar look. Always source "Grade 2" or better lumber to ensure you aren't fighting large knots or severe twists that can make your rafters look uneven.
Step 3: Decorative Cuts and Joist Layout
The hallmark of a professional pergola is the decorative tail cut on the rafters. Using a template (provided in our DIY Pergola Blueprints), you can easily cut consistent scrolls or angled profiles that scream "custom-built." When spacing your rafters, keep them no more than 16 to 20 inches apart. This ensures proper shade and structural integrity for the entire assembly.
Assembly and Finishing Tips
When assembling, use 8-inch structural screws or through-bolts for the main beams. Avoid using standard wood screws for these critical structural connections. Once built, let the wood dry for a week or two, then apply a high-quality exterior stain. This will prevent grey weathering and keep your pergola looking like new for years. Building a pergola yourself can save you thousands in labor costs while giving you a sense of pride every time you step into your backyard.
Recommended Plans for this Project:
Ready to start building?
Check out our premium woodworking plans and build your next masterpiece with confidence.
BROWSE ALL PLANS